Today, I finally upgraded from an analog Duo-Therm thermostat to a digital programmable Honeywell thermostat.
This mod has been a LONG time coming! I just couldn’t justify the $50 expenditure when I wasn’t in cold climates for any length of time. But just the last few months here, when it hasn’t even been really cold, I could see that the expense would be worthwhile. One of my pet peeves is to get up into a cold room. Getting up is hard enough as it is, but the added work of shivering means I prefer to stay curled up under my duvet. So I’ve been getting a late start lately.
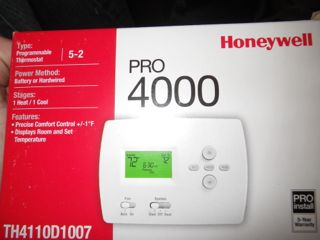
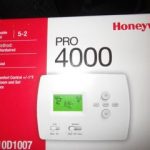
There have been some articles about this upgrade, but none that were recent and took into account newer digital thermostat models. So I did some research about what to look for in a thermostat and then, gasp, I made the choice on my own. I needed something that would use batteries for power, be as close in options to my existing thermostat, and most importantly, would automatically lower the temperature threshold before bed and increase it in the morning. I settled on the Honeywell Pro 4000 TH4110D1007. It was $65 locally and $40 on Amazon. I ordered my winter boots at the same time, paying all of $13 for shipping and $50 out of pocket, saving about $75 total.
I was going to town this afternoon, so I promptly opened up the box when it arrived this morning to get the size of batteries I would need to operate the thermostat. To my surprise, a pair of AA Duracell batteries were included in the box. Nice touch, Honeywell!
At first glance, the wiring on the Duo-Therm and Honeywell seemed completely different. There were some corresponding letters, but both had letters the other one didn’t. I Googled for a Duo-Therm wiring diagram and couldn’t find anything that was like mine. Apparently, most have multi-coloured wiring, but mine just had red, white, and black, not very helpful.
Having, among other things, upgraded my RV converter, a little thing like a thermostat just wasn’t daunting. So I just read and reread the Honeywell manual until I figured out which wiring diagram corresponded to mine (1H/1C System), and that eliminated all the letters in their diagram that didn’t correspond to the Duo-Therm wiring scheme. As for the Duo-Therm, the one non-corresponding letter had a white wire, which I figured was power and therefore not needed.
I turned off all power to the rig before starting. Then, I disconnected and reconnected one wire at a time, a job that would have been much easier with an extra set of hands and a proper light, but which still only took about five minutes. I did it in this order, basically going counter clockwise around the Duo-Therm: RH to R, RC to RC (don’t lose the little jumper thing!), G to G, W to W, and Y to Y. I taped off the white H wire on the Duo-Therm that I assumed was power.
All that done, I was able to mount the base to the wall and snap on the controller. I turned power back on to the rig, set the thermostat to heat, and the furnace fired right up. Good start! The AC didn’t start, but I think that’s because it was 60F in the rig at the time so there was no point in troubleshooting something that might not need to be troubleshooted.
Within a couple of minutes, I noticed a problem. The fan (on the air conditioner) ran at the same time as the furnace. This was odd as the fan control had the same options (on or auto). I always leave it to on and it never runs, but I couldn’t get it to shut off. It blows cold air, so that was unacceptable! So I pried off the cover and disconnected the G wire that runs the fan. Another thing to troubleshoot at a later date. 🙂
Then, it was time to set the temperature control schedule! This was super easy and intuitive. I started by setting the current time and day and then entered the time and temperature options as prompted. How this thermostat works is on two schedules, Monday to Friday and Saturday and Sunday, where you set a wake up, daytime, evening, and nighttime temperature thresholds.
For both schedules, I said I wanted the furnace to be set at 55 at night, 70 for an hour in the morning, 65 during the day, and 70 in the evening after 6PM. I don’t even know if there is a Celsius option, but the Duo-Therm Celsius increments were so large that I got used to using the Fahrenheit scale.
The furnace has now been running for a bit and I’ve only gained a few degrees even though it is comfortable in here. As expected, the digital model is much more sensitive than was the analog. So I may discover that I can actually keep it at lower temperatures than I did the analog. It’ll take some time to work out the kinks. The big test will be tomorrow morning.
-
-
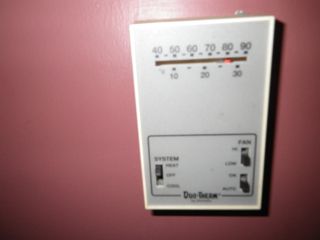
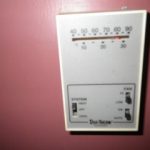
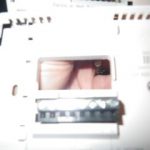
Duo-Therm 3105058 thermostat, which controls an Atwood furnace and Dometic air conditioner.
-
-
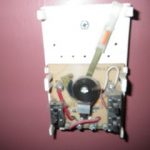
Inside, it’s definitely low-tech.
-
-
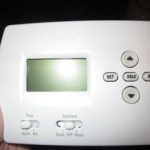
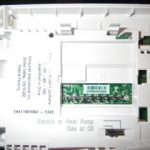
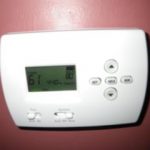
Honeywell digital thermostat.
-
-
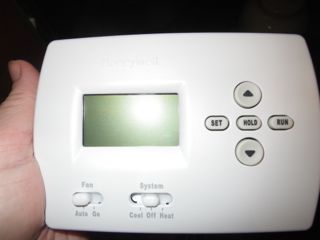
It’s about the same size as the old one, only with reversed proportions. It has the same controls for cool/off/heat and on/auto for the fan, but does not have the fan speed controls.
-
-
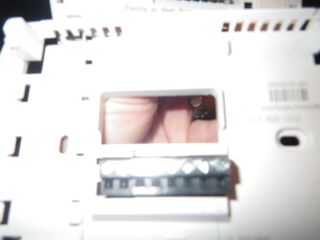
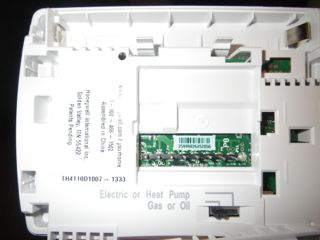
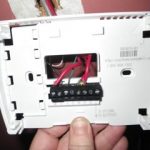
This is the back panel that mounts to the wall and into which you feed the wires.
-
-
This is the controller with the display, which snaps into the the wired part.
-
-
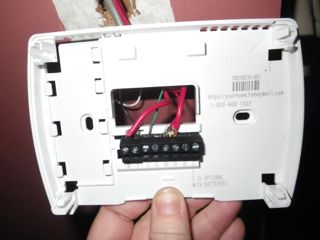
Here it is wired up.
-
-
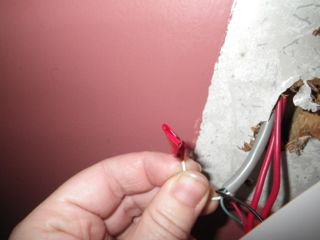
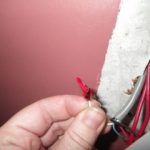
I just taped off the white wire that was likely for power.
-
-
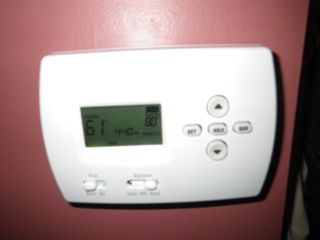
Here it is mounted and working!