Bannock

If you’re Canadian, chances are that you’ve made bannock at some point in your life, probably in summer camp or as part of a school outing. I used to make it whenever I camped, but sort of forgot about it as the years went by. I picked up a recipe for this quick bread at the Fort Nelson Museum last week and have had a craving for it since!

This morning, I looked at the multigrain bread I normally have for breakfast and felt mildly queasy. So, I decided to whip up a batch of this bannock for a welcome change of pace. Of course, bannock tastes best cooked over an open fire, or, in a pinch, a cast iron skillet, but this morning’s batch made in a non-stick frying pan was most satisfactory.

Ingredients

(can be halved)

4 cups flour

2 tbsp sugar

2 tbsp baking powder

1 tsp salt

3 cups water

raisins (optional)

Method

Mix dry ingredients. Add water and mix dough to a drop consistency.

the dough will be very wet

the dough will be very wet

Melt cooking fat or heat oil in a frying pan until hot.

Drop tablespoons of mixture into hot fat.
cimg00043

Fry until brown all over.

cimg00032
cimg00062

Suggested toppings: honey, butter and jam, or, this morning’s sweet treat, real Quebec maple syrup.

The bread is very light and chewy. Unlike my former favourite quick bread, biscuits, bannock is great cold.

You can, of course, adjust the quantity of fat. I’ve been burning a lot of calories these days, so I didn’t go lightly on the olive oil this morning, but normally I wouldn’t use any fat at all in my non-stick skillet. I would also normally do half whole wheat flour, half white, but I was out of whole wheat today.

I didn’t count how many cakes a half recipe made, perhaps a dozen or so. Total time from getting the ingredients out of the pantry to flipping the last cake out of the pan: fewer than fifteen minutes.

I never keep eggs in the house, so these are going to become my alternative to pancakes. They’re so good! With raisins, they can easily be eaten as is. Next time, I’m going to add some nuts, in addition to the raisins, to turn the bannock into a great hiking snack.

E-Z Foldz Step Stool

A name like E-Z Foldz does not really inspire confidence, does it? Well, I bought one of these stools at the RV show in January and have now had it long enough to be able to proclaim that ownership of one is a must for all RVers!

This step stool is just that, a step. It gets you about 9″ off the ground. It’s the perfect height for getting into the back of your upper cabinets, washing the windows, adjusting your kayak on the roof of the car, adding a step at the entrance if you’re parked over a low spot, or as a seat for digging through an exterior compartment. It folds up flat, is very sturdy, takes up no room at all, and comes in a variety of colours (mine is green 🙂 ).

Power-Sipping Coffee

Lest at RVers Corner asked me the other day how I make coffee in a French press. I thought my reply could be expanded into a post. 🙂

Why a French press?

I switched to the French press in the fall when I was boondocking or dry camping most nights as I RVed across northern Ontario. The only power this method requires is a bit of propane for heating up the water. I’m also a bit of a coffee snob and like my beans freshly ground, so I also use a tiny bit of battery power, through the inverter, to work my coffee grinder. I’ve since become hooked on this fabulous, rich, creamy coffee and haven’t taken out the drip-style maker in about seven months, even though I spent the winter on full hookups!

Isn’t French press coffee a lot of work?

No! It takes about six minutes start to finish, four minutes of which you can spend prepping the rest of your breakfast!

Step One: Buying a French press

I just went to Winners and bought the smallest model they sold that had a glass carafe. It is made by Arcosteel with French-tempered glass and makes exactly one mug of coffee. The carafe was, of course, accompanied by a plunger, as well as (fairly useless) instructions, and a measuring spoon for the coffee grinds.

Step Two: Choosing the coffee

I like a dark roast, ideally Sumatra. I buy my beans whole and favour small coffee shops that roast their own beans, buying only enough to last me a week. One advantage of buying whole beans, besides the fact that the coffee remains fresh longer, is that you can play with the coarseness of the grounds until you find the size that makes the perfect coffee for you.

Step Three: Putting water on to heat

I put about a mug’s worth of water into the kettle and set it on the stove to heat while I prepare the coffee beans.

Step Four: Grinding the beans

There are several schools of thoughts on this subject. Some say that for perfect French press coffee, the beans must be coarsely and evenly ground. Others claim that it must be finely ground. I like a happy medium between the two, which is two short pulses on my Braun grinder. I tried coarsely ground beans, but found the flavour absolutely insipid while a fine ground meant more grinds in the cup. I use the spoon that came with my French press to measure out the correct amount of grinds to dump into the bottom of the carafe.

Optional Step 4A: Preparing the milk

I like my coffee with a bit of hot milk and have found that the easiest way to achieve this is with powdered milk. I add about a half teaspoon to the bottom of my mug.

Step 5: Adding the water

There are, again, several schools of thought as to how hot the water should be. Some like for their water to be boiling hot. Others let it boil and then wait ten seconds before adding the water to their beans. I usually wait until the kettle is about to let off its first scream. I first add a bit of water to the milk in the mug to create instant hot milk. Then, I add water to the beans in the carafe. Mine has a metal ring around the top for holding the handle. The lower part of the ring happens to be the perfect measure of water. You will need to experiment with your carafe to determine how much water you need for the number of people you are serving. The first time I made coffee with my press, I poured hot water into the mug and then into the carafe to determine that the metal band is a good indicator.

Step 6: Letting the coffee steep

The rule of thumb is 4 minutes and then the coffee becomes bitter. Four minutes works great for me with the grind size that I use. It wasn’t nearly enough for a coarse grind and it was too much for a fine grind. Again, it’ll take some experimentation; but the results are worth it! While the coffee is steeping, you can stir it once or twice to release the crema, the golden foam of coffee oil that is so rich with flavour. When the time is up, slowly lower the plunger to trap the grinds at the bottom of the carafe

Step 7: Pouring the coffee

Pour the coffee slowly and leave a  bit near the end to avoid getting the finer grinds in your cup. Because I use a medium, uneven, grind, I always manage to get a bit of the finest grind at the bottom of my cup anyway. Solution: I don’t drink the last mouthful. Those with fancier grinders should be able to avoid this.

Step 8: Savour this delicious coffee!

Pouring the coffee into the hot milk is the only preparation I need to enjoy my French press coffee. One nice thing about this method is that the coffee remains very hot for a long time, so you can truly savour and enjoy your coffee while reading the paper or updating your blog. 🙂

Step 9: Disposing of the grinds and cleaning the carafe

I empty the carafe into the day’s garbage, using a spoon if needed to get the last of grinds. I then rinse the carafe and plunger under hot water. Every few days, I wash both parts with hot soapy water, but some purists will say this is a no-no and that the carafe should be allowed to ‘season’ the way a cast iron frying pan is.

So, while there is a definite method to making French press coffee, there are a lot of variables to play with the make a cup that’s perfect for you. What I like best about this method is that it can be used to make delicious coffee anywhere, whether you’re heating your water on an electric stove while at home, over propane in the RV, or over coals while camping.

The Chasm to Lake McLeese

This day was like the one from Thunder Bay, starting off great, with no warning of the disaster to come.

I hadn’t had a good night’s sleep in about a month, so imagine my shock on Monday morning when I discovered I’d slept ten hours straight! The chasm turned out to be a great spot for a good night’s sleep, being pitch dark and blessedly quiet.

This was my first time ever waking up somewhere that did not require me to be out by a certain time, not counting Revelstoke that required me to leave because of my non-existent battery issues. I took my time, savouring the crisp, cold morning. I had fretted about how to get out of the site without unhooking, finding the turn to be very sharp for an RV, but the The Milepost, my bible for this journey, kindly informed me that Chasm Road loops back to the 97 highway.
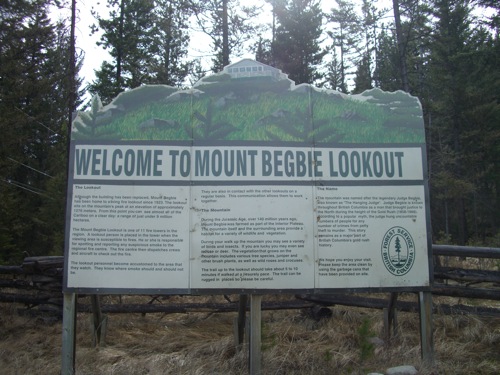
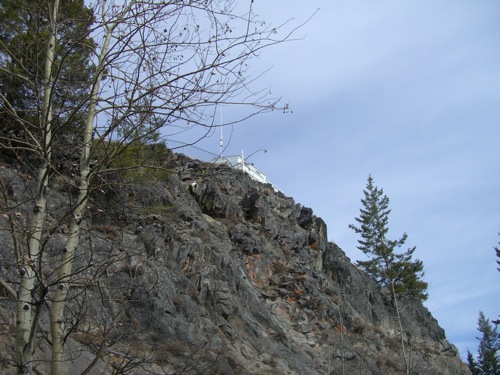
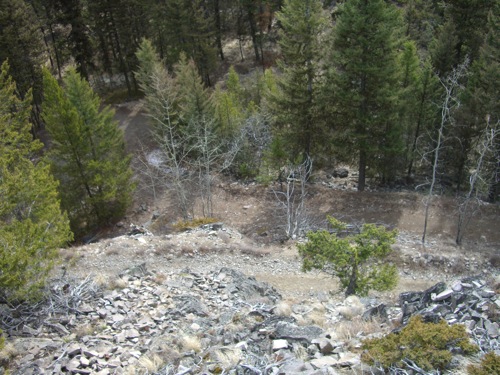
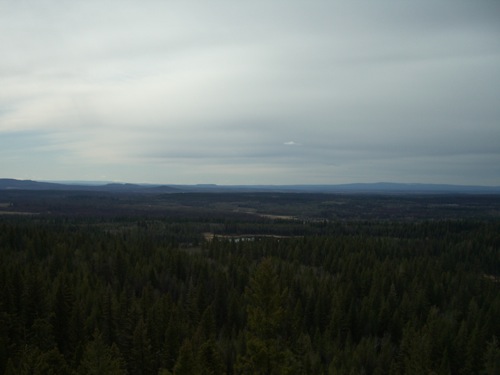
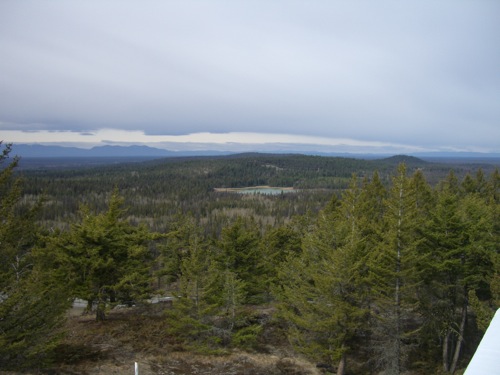
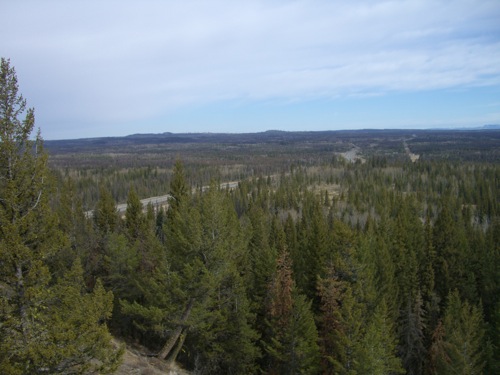
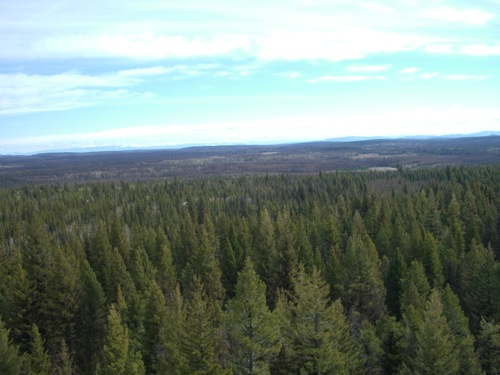
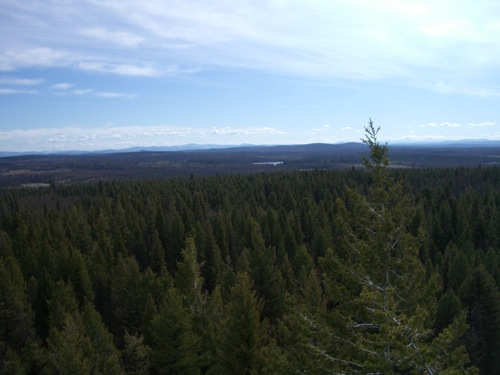
I stopped just 30km from the Chasm to climb up to Begbie Summit, where there is a fire watch station. This was a 10 minute hike that told me that I really need to do more of these if I want to be ready for the Chilkoot. 🙂

cimg0027

cimg0028

cimg0029

cimg0030

cimg0031

cimg0032

cimg0033

cimg0034

cimg0035

cimg0036

cimg0037

cimg0038

cimg0039

cimg0040

cimg0041

cimg0042

cimg0043

cimg0044

cimg0045

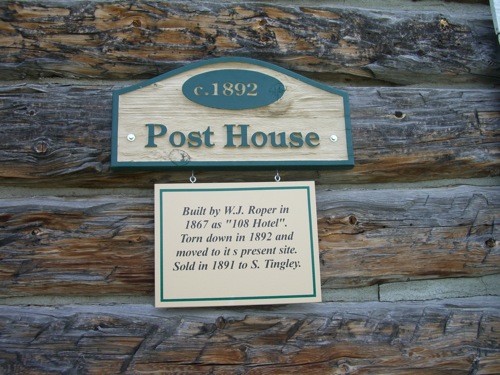
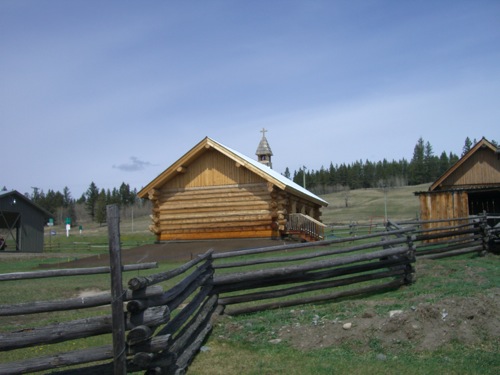
My next stop was for lunch at the 108 Mile Ranch site. I’d topped up the groceries at the Save-On-Foods at 100 Mile House, so I had a very nice picnic.

cimg0046

cimg0047

cimg0048

cimg0049

cimg0050

cimg0051

cimg0052

cimg0053

cimg0054

cimg0055

cimg0056

cimg0057

cimg0058

My water levels were getting low, my tanks were getting full, my house battery was ready for a bit of juice, and I had a mountain of laundry to do. So, I decided that a night on full hookups was in order.

Using the Milepost, I determined that the McLeese Lake Resort, between Williams Lake and Quesnel, would be a good place to stop as it boasted full hook-up sites, easy RV access, and wi-fi.

cimg0059

Williams Lake

cimg0060

Williams Lake

Well…

This was a beautiful resort, but really not made for RVs over the size of a class B. I took a turn too sharply to get into my site and clipped the post holding the water outlet, then drove straight over it with the toad. Miranda has a nice scrape down the side of the battery compartment door and one of its closures is dented.

Damage at the site looked really bad and the owners thought they would need to call in for a backhoe to get to the underground leak. I was told that I was looking at a 500$+ repair bill. They were very nice about the whole thing, but I was beyond mortified and freaking out. My trip was over if the bill came to fruition; I’d have to dash straight to Whitehorse to get work.

Several hours passed as I did laundry, puttered around the house, and otherwise tried to keep myself occupied as I waited for the final verdict.

Finally, the groundskeeper came around to announced that he got to the leak with just a couple of spadefuls. As it turned out, the water hose was just that, a flexible hose, not a pipe, and all I’d done was rip a connection apart. It was a two minute repair. As for the post, it seemed pretty rotten and did not factor into the equation when they came up with a bill for me–50$ for the inconvenience and labour. Fair enough. *relieved*

The people at the resort were just so nice about the whole thing. I paid them in cash last night, but still went into the office this morning to make sure that everything was okay. The manager took me around the outside of the office and showed me where someone had just about taken the roof off the porch with their rig! I could tell that she was trying to make me feel better and it worked somewhat. She told me I’m welcome back anytime, but I’m not going back there!

The resort is absolutely gorgeous. I had a nice spot by the water, something that enchanted the kitties. But the ‘pull through’ site was barely so and their wi-fi is WEP encrypted so I couldn’t get on. So, while my night there wasn’t a complete and utter disaster, it won’t bring back pleasant memories. 🙂

cimg0061

Tabitha being absolutely enchanted by the waves on the lake. Love her perch!

cimg00061

The picture of food cooking is a secret message to my former boss. Thanks for the bag, it was delish!

cimg0062

cimg0063

cimg0064

cimg0065

cimg0066

Detrenchment

Today was the first day of my last weekend here at Pacific Border and it was beautiful! Here are some of the projects I’ve accomplished:

  • Putting winter stuff away under the rig

I stored the aluminum coated bubble wrap I’d used to insulate the cab window as well as the foam blocks I’d stuffed into the skylights. I left the one in the bedroom, though, because it blocks out the light. I also put away the rest of the winter clothes and took out the summer clothes. I shifted some stuff around and got rid of a tote, freeing up room to store some items like the charger in the basement instead of the cab.

  • Resealing the entrance well

Even though I’ve had a rubber mat over the stair thread, water leaked under. There was also an unmistakable smell of eau de chat.  I washed the stairwell, sanded it, and applied three coats of sealant. I didn’t think that the results would be visually apparent, but you be the judge:

stairs1

stairs2

I used Verathane water-based ‘crystal’ sealant. I love this product–it is easy to use, inexpensive, durable, and readily available. I usually get it at the home store, but Walmart had some for 6$ for a small container.

  • Cleaning the cab carpet

After so many months on the road and a few Tabitha accidents, it was definitely time to degrime the cab floor! I was going to rent a carpet cleaner to do so, but a rental was about 40$ for a day, plus a deposit. Also, the machines were very bulky and I worried that I wouldn’t be able to get into all the nooks and crannies of the cab. I therefore spent quite some time in the vacuum cleaner aisle at Walmart and decided to instead buy a carpet cleaning machine of my own for 80$:

Even though it will mean something extra to store, I have tons of room for it and the machine will pay itself with three cleanings.

I am very impressed with it because it is so easy to use that I even cleaned the seats in the cab, the bucket chairs in the lounge, and the dinette cushions!!! The machine’s footprint is small enough that I can wedge it between one of the bucket seats and the back of the passenger seat so that it can remain handy, but out of the way. It also seems quite sturdy.

This was in no means an impulse buy; I’ve been looking for a compact carpet cleaner and this was the first model I found that seemed halfway decent. So far, so good!

I also, finally (*rolls eyes*) laid down some plastic mats in the cab.

  • Charging the truck battery and testing the starter

I have been remiss in keeping the battery at a good charge, so I trickled charged it this afternoon, then started the truck to make sure it would. It took a bit of coaxing, so first thing I will do Saturday morning is get the charger on it.

I spoke with some neighbours and was told that the Mr. Lube at 200th and the Fraser Highway in Langley will be able to accommodate Miranda, and this without an appointment. That’s right on my way north, so super convenient. If my shopping goes well tomorrow, I might head out of this area on Saturday after all!

Finally, my cats would like to start the rumour that I am the most horrible mother in the world. I would like the opportunity to respond to that. Since I was cleaning the carpets and sealing the stairs, and it was a beautiful day out, I decided to throw open all the doors to make drying easier. I therefore had to ‘lock’ the cats in the back part of the rig (LOVE having a real door!). They had fully half the rig to themselves–the dressing room and the study, with three big windows for entertainment and two skylights for air (plus the shower skylight!). They also had food, water, a litter box, and several soft places to curl up on. They therefore had no reason to be sit at the door howling to be let out!!!

For dinner, I decided to try out Chicken Bob’s Cantina in White Rock where I had their very yummy chicken enchiladas, cantina-style, and a couple of Coronas. Sure felt like a Saturday night even if it’s Sunday. 🙂